I3WM installation on Arch Linux
There is a nice site to start learning Linux: This is Arch wiki. In fact, an interesting thing to do is starting by installing Arch linux following Arch’s wiki installation guide. Of course, I wouldn’t recommend doing this on your laptop hardware, but I would rather recommend installing it using a virtual machine first, until you feel comfortable with your Arch Lilnux installation.
In this case, as I’m a linux user, I’ll create a new VM using KVM with the help or virt-manager, which is faster than VirtualBox. However, Virtualbox has a clear advantage over KVM: You can use it in Windows, MacOS and of course, in Linux.
Creating the Virtual Machine
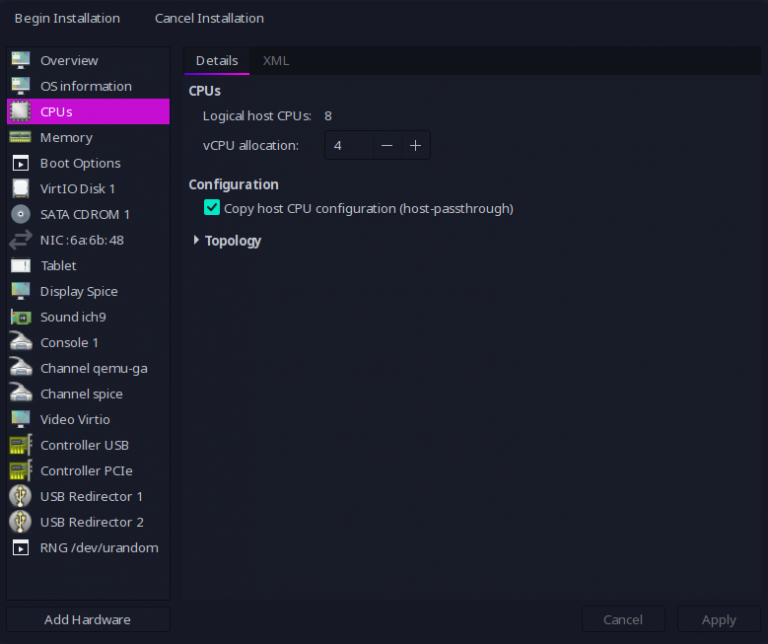
You can download the ISO image following the instructions in their download page. You can also create your Virtual server using virt-manager (or the way you prefer it). You should properly configure your virtual hardware (in my case I’ll use 8Gb Ram and 4 CPU cores and a new 60Gb hard disk, which is far more than needed).
The CPU configuration for my VM will use a host-passthrough for my host configuration. This will be quite performant and will allow me to use nested virtualization whenever I want to use it… And I’m sure I’ll want to use it a some point in the future.
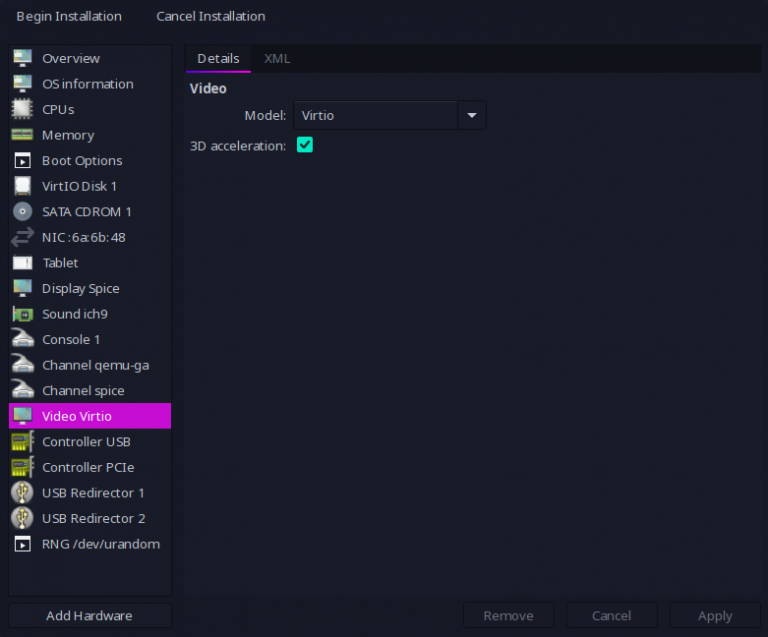
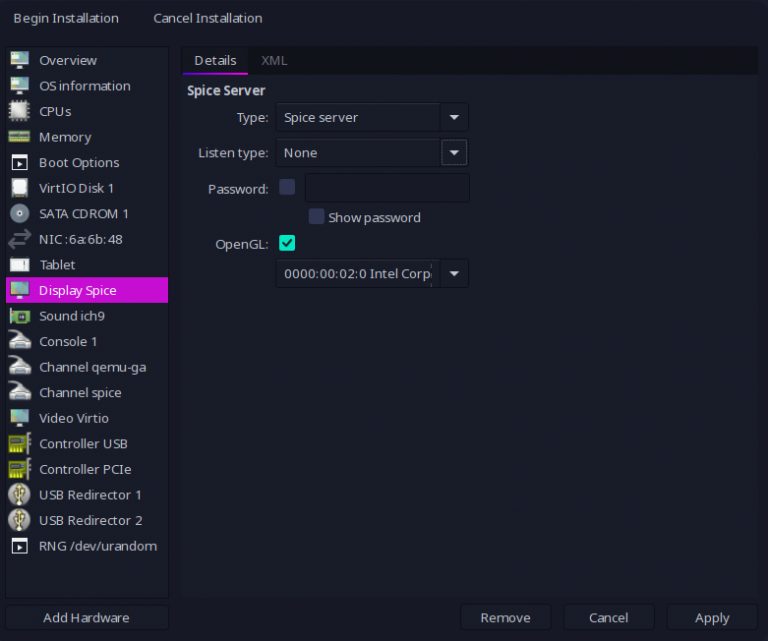
In order to get good enough performance with the video driver without bloating the CPU usage in the physical host, I’ll configure:
Starting my Arch Linux VM and Installation
Once we have everything configured, we start our virtual server and start Installation. The important thing here is read and understand the wiki’s installation guide.
# Load keymap -- Default is "US". Mine is "es"... Use yours
loadkeys es

# Verify your IP link
ip link

# Mine is enp1s0 -- so, I'll get my IP
dhclient enp1s0

# Update date
timedatectl set-ntp true
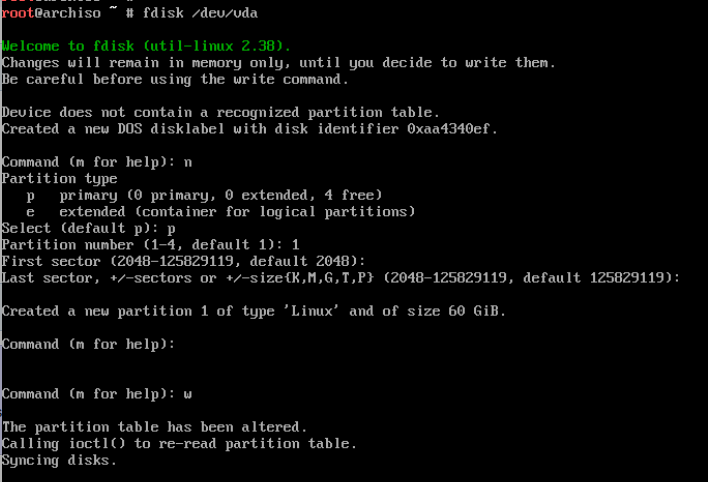
Now one very important part: partitioning disks. In my case, as I’m using KVM, my disk is “named” as /dev/vda, This is the one where I need to make the partitions with fdisk. I’ll do it the simplest way this time:
After the partition, we must type a few commands to do the actual installation
# Format the partition
mkfs -t ext4 /dev/vda1

# Mount the partition in /mnt
mount /dev/vda1 /mnt

# Install the essential packages (and other useful packages)
pacstrap /mnt base base-devel linux linux-firmware grub  neovim nano sudo git

# Generate the fstab file
genfstab -U /mnt >> /mnt/etc/fstab

# Change the root directory to /mnt to continue the installation.
arch-chroot /mnt

# Configure the timezone (mine is Madrid)
# ln -sf /usr/share/zoneinfo/Region/City /etc/localtime
ln -sf /usr/share/zoneinfo/Europe/Madrid /etc/localtime

# Run hwclock(8) to generate /etc/adjtime:
hwclock --systohc

# Edit /etc/locale.gen and uncomment needed locales.... This can be usim nvim
# or using nano
sed -i 's|#en_US.UTF|en_US.UTF|g' /etc/locale.gen
sed -i 's|#es_ES.UTF|es_ES.UTF|g' /etc/locale.gen

# generate locales
locale-gen

# Configure LANG variable in locale.conf
echo "LANG=es_ES.UTF-8" > /etc/locale.conf

# Configure Console keys
echo "KEYMAP=es" > /etc/vconsole.conf

# Configure a hostname for the server and /etc/hosts
echo "archi3" > /etc/hostname

# Esto se puede editar con nvim o nano
cat << EOT > /etc/hosts
127.0.0.1    localhost
::1          localhost
127.0.0.1    archi3
EOT
We should add now a new user and allow it to become root using sudo. Arch Linux suggest the mechanism to do this is allowing the wheel group to become root using sudo, that’s why we need to change /etc/sudoers as follows.
## Uncomment to allow members of group wheel to execute any command
%wheel ALL=(ALL) ALL
It is time to create the user and add it to goup “wheel” so it can become root.
# Create the user
useradd -m jicg

# Add it to the group "wheel", so it can become root
usermod -aG wheel jicg

# Add a new password to jicg
passwd jicg
The next step is adding grub loader so the operating system can load in next reboots and enabling NetworkManager service so it boots with a simple Network configuration. One last step: reboot.
grub-install /dev/vda

grub-mkconfig -o /boot/grub/grub.cfg

systemctl enable NetworkManager.service

exit

reboot
Additional configurations
I’ve created a small script which can be used to install a few important things: https://raw.githubusercontent.com/jicarretero/jicgeu-support/master/ArchLinuxWithI3WM/00_install_basic_software.sh
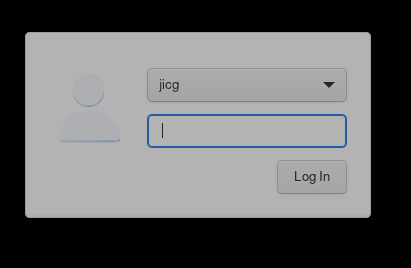
You can download it and run it as root. It will install X11 with lighdm, openssh and set the key map to Spanish inside X. So, after running the script we’ll have X-Windows there installed with a very simple greeter (lightdm default greeter):
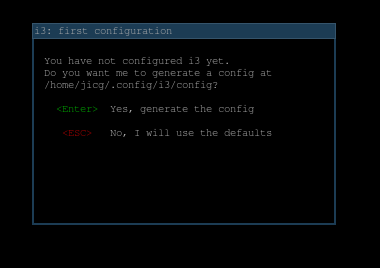
The first time we start I3WM, it will create a new configuration file. A very simple configuration file. It’ll make us choose what is the “default modifier” key. I thing the Windows key is the one to choose.
In order to be able to do something with i3wm, we must know a couple key bindings:
- <win>+<enter> — Opens a terminal
- <win>+d — Opens a menu. We can type, for example firefox in order to open a browser
- <win>+1,2,3,…, 0 — Changes to a different “desktop”. We have 10 by default.
A final thought
The windows are not in optimal resolution at this time. In order to improve resolution, I would check with xrandr the possibilities
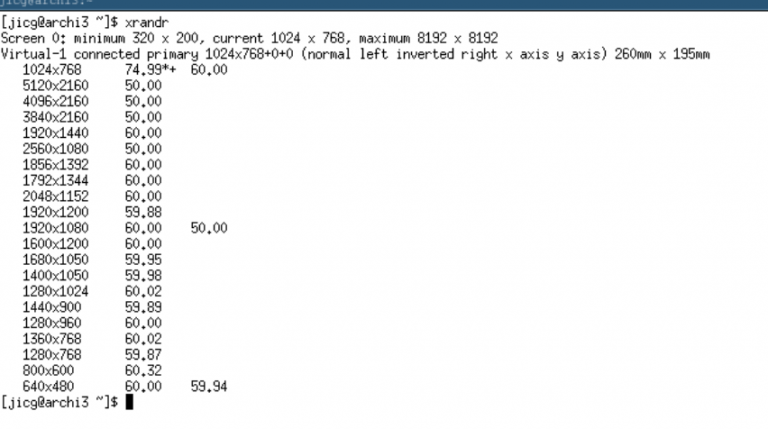
In my case, 1920×1080 will do the job:
xrandr -s 1920x1080This is a very lightweight operating system. At boot time, with only a terminal, it will less than 140Mb to run:


